Olives…

Well, more than a year has gone by since I’ve written of anything food or kitish… But so it goes…

We have two olive trees that were put in the ground when somebody only wanted the planters. So they’ve been there, growing, for 6 or 8 years I guess.

In past autumns, there might be a few olives on the ground, but not enough to do anything with. But this year has been different…

The “collecting and needing to deal with” came suddenly, and some of the earlier olives may have still been pretty immature. The worst problem is birds. Almost all of the olives would have a peck taken out of them, so collection was pretty slow.

But we ended up with about 3 or 4 litres of olives. OK, now to the processing: do not eat an olive that has fallen from the tree. Or do – see if I care. An uncured olive is one of the most bitter, unpleasant flavours that there is.

So since I was researching in a hurry, most of these olives were cured in a saline solution (1:10 salt:water). And changed the solution every few days or a week.

So that’s the ones in the pantry just now, mostly. They are pretty good, but still sometimes a bit more bitter than even I prefer.
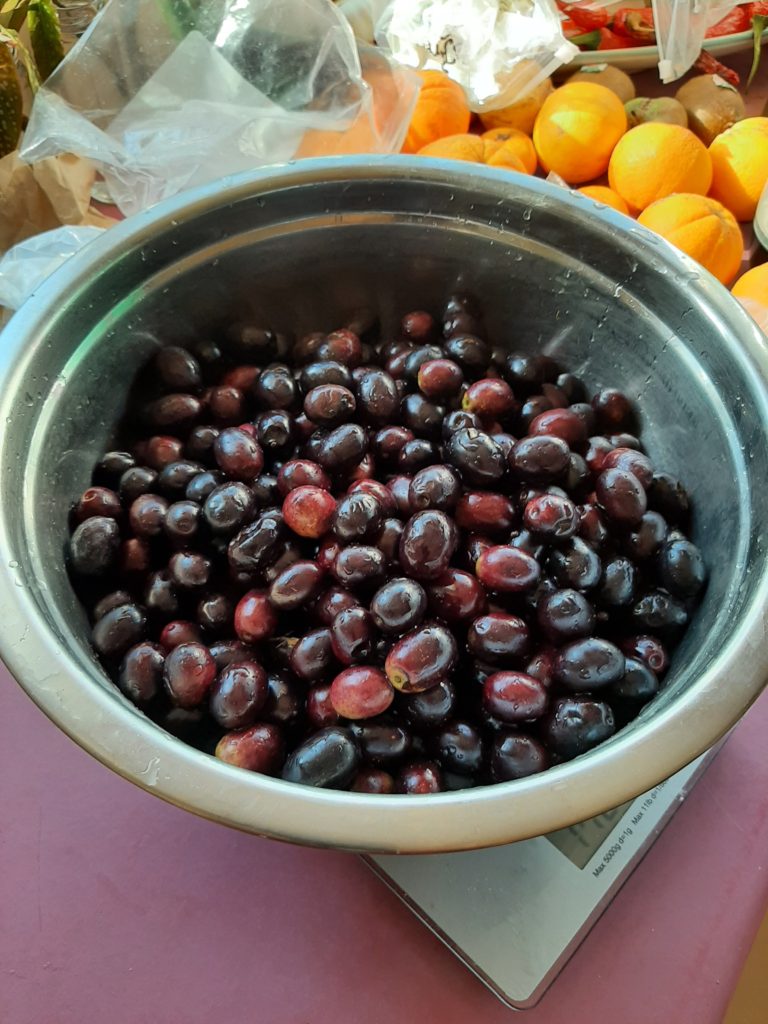
Washed and ready to process.

So last week Averil spotted another olive tree on the side of the road nearby. We rode over this morning to collect nearly 1.8 kg (nearly 4 pounds) of plump, black olives – with hardly any insect or bird damage.

I took a few photos as I dealt to them. I took the first half to do what is called “oil cured” olives. As misleading as it can be! You don’t cure them in oil. In fact, you just hang them in a muslin bag, along with about the same weight of salt. That’s it.
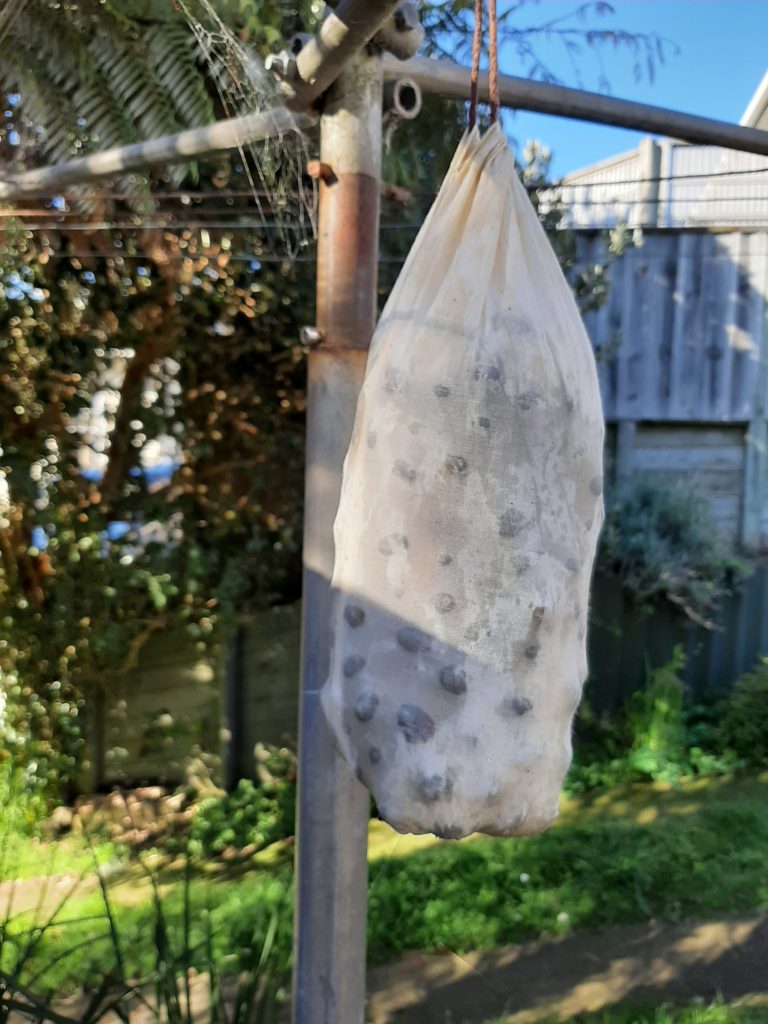
Olives and salt in a muslin bag.

The first lot I did took about 4 or 5 weeks of just hanging outside on the clothes line. Yes, just hanging out there in the rain. And when there wasn’t much rain, I watered them. By the time I brought them in, there was still salt on the surface, but they had wrinkled and turned black. A quick rinse to get rid of the surplus salt, and we’ve got some pretty damn good olives – had them on a pizza just the other night!

So I’ve done half of today’s olives that way. After hanging out there, and rinsing, the “oil cured” comes into it when you put a small bit of olive oil in the jar and shake them around…
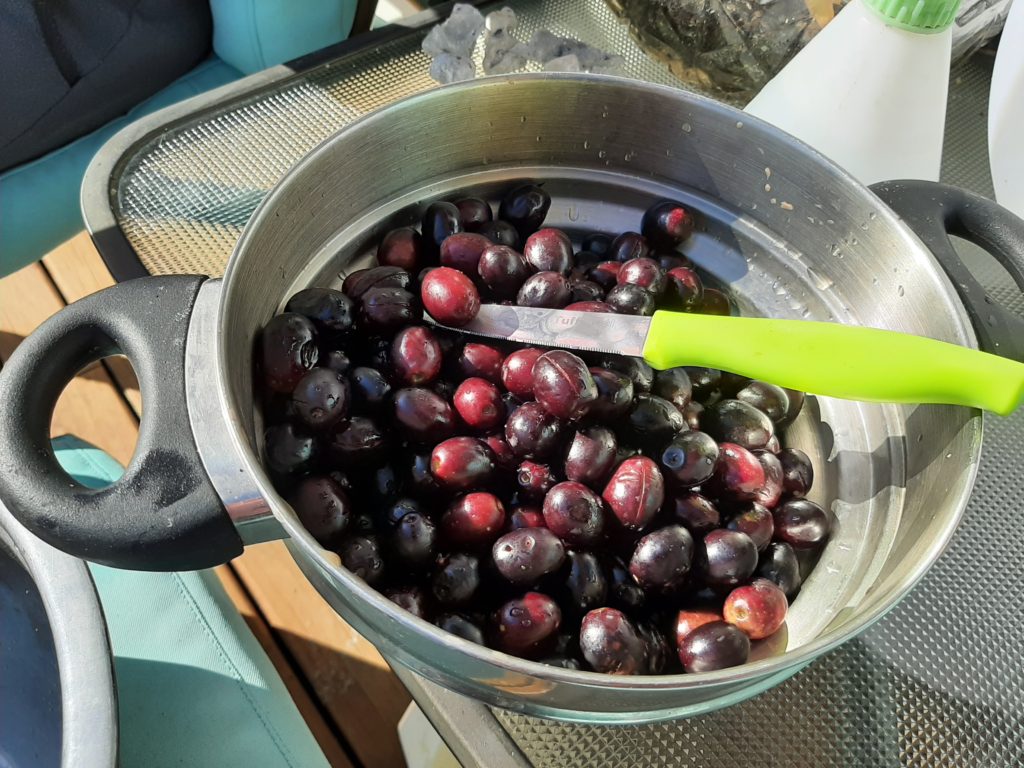
Slicing olives.

For the other half of what we got today, I’m using what I think is a more ‘traditional’ Greek approach. Rather than putting the olives into a brine to cure, this method has you put them into fresh water, and then keep changing the water every day or three.

But this method has some extra labour. While the brine has no problem going into the olives as they cure, plain water won’t go in so readily. So each olive has to have a small slice in it, with one source saying “don’t cut on the pip – it makes it even more bitter…”. It wasn’t as bad as it sounds, sitting on the deck in the sunshine.
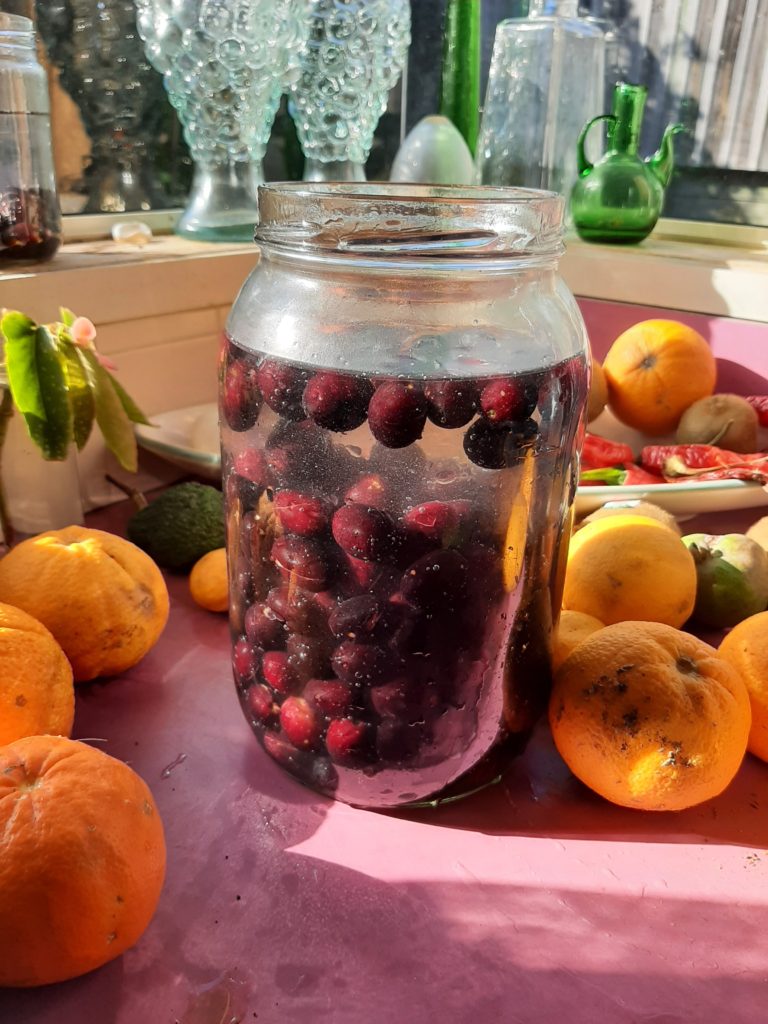
‘Cut’ olives in water.

It should take some weeks of regular water changing before the bitter is gone. And only then would they perhaps have some storage time with a 10% salt solution, to give them a bit more flavour and help with storage.

As the olives cure over time, you can almost see the bitterness being washed out, whether it is with brine or with plain water. After a time, the water you are changing is sort of a purple colour.

When I first ate some of our own cured olives, I had to try to pretend to myself that they were really commercially prepared ones. I simply couldn’t believe that I would be able to turn that absolutely wretched flavour of raw olive into something that could be pleasantly eaten and enjoyed…

Sauerkraut…

Put down my first sauerkraut two days ago.  Still at least another day before I should be tasting it, but I’m hopeful.

I chopped up cabbage (food processor…) and mixed in salt and some caraway seeds.  I did two batches – I think the second one will be the better of the two.


Cheese squeezing…

Just because I haven’t made any postings doesn’t mean I haven’t been baking, messing with kites, and exploring an on-going interest in cultured things…

I’ve continued to make a lot of labneh, mostly trying out different brands of soy milk, but also doing some enrichment through the addition of coconut cream of various qualities.  The culturing has been in the 5 pot yogurt maker.

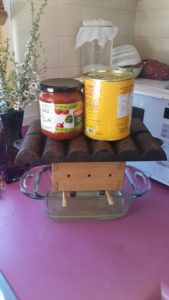
The press. I need to modify heights of various components so it will allow me to more readily use the springs (sitting on the top) to apply the pressure. Without them, it is a full time job just continuing to crank it tighter!

I’ve recently found ($5 at the Sally’s) a larger, single pot yogurt maker.  I’m going to standardise at making about 1 litre of yogurt at a time, then working to press it into something resembling a cheese.

So I made a small cheese press!  Still some changes to be made, mostly to enable consistent pressure but also user convenience.  But it is certainly working as a proof of concept.

Today’s pressing is using a 500mm square piece of cotton for the liner.  The ‘curds’ that I am working with are too soft and delicate for such as ordinary cheesecloth or butter cloth.  It seems to be a fine enough weave to still allow the ‘water’ out when under pressure, but keep most all the creamy part inside the cheese.

I can tell when I’m putting too much pressure on the cheese.  It will occasionally spring a small hole, and a fine white mist will erupt sideways.  It is somewhat messy…

Finally used the silicone waffle form…

I don’t know what the device is called – I’m calling it a ‘waffle form’.  Got it at a second hand shop some time back, but first time I’ve cooked in it.

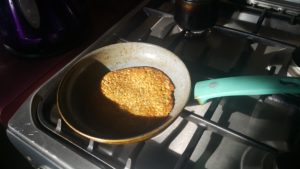
I just used the sourdough starter as is, with a bit of added salt for flavouring.  Ladled into the ‘form’ and baked it!

The starter is going through a lactic period, with a sharp, almost acidic flavour.  Much more challenging than when it has the sweetness it did in the first month or so.  I’ll need to manage it so that it doesn’t get any stronger than it is now…

These were great for breakfast this morning, covered with fresh labneh!

Bread, generally…

OK, the bread machine hasn’t been in use for months now.  And I’ve weaned myself off of making entirely sourdough and/or entirely wholemeal type breads…

This post describes two recent loaves, but covers my general ‘technique’ for bread…

Feta and onion bread. I waited until the kneading was almost finished before ‘layering in’ the feta.

I’ve always like to proof the dry yeast to get it well and truly bubbling before I get started.  Usually just the yeast sprinkled over warm water or milk, and generally putting a handful of flour on the surface so I can better see the yeast coming alive and multiplying.  The size of a batch for me is determined by that amount of water.  I’m mostly now going with about 250mg – a bit more than an Imperial cup.  That will make enough dough for one large or smaller loaves.

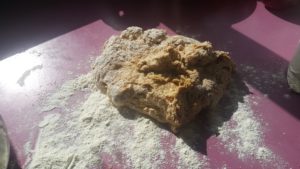
Turned onto the flour-covered counter to work and knead.

Starting from my early breadbaking, I also like to use a sponge in the process.  That is, after the yeast if starting to grow, add enough flour to make a thick mud texture and stir it to incorporate more air.  That gets put aside to grow – catch it before it collapses, but let it go as long as you want.

Then, I add a bit of salt and all the rest of the flour I need.  I time it so this step is when I know I’ll have 15 minutes or so to knead and prepare things.  Once I’ve added enough flour to turn it out of the bowl, I start working it on the bench.  Only just coming back to using a scraper – I used one in the bakery I worked in 40 years ago, but only just got one for home use.

Loaf with left over almond meal (from making almond milk/cream several days ago). I used a soy milk glaze so the crust would not be so hard.

This is the point I ‘enrich’ things, too – add an egg, maybe some left over almond meal, and maybe some butter.

With white flour, it is hard to go wrong in breadbaking.  Using all wholemeal means more care and attention so you don’t damage the gluten development.

But I’ve always liked the kneading process – getting the dough smooth and shiny, you can feel the potential for the bread to come.

Let it rise again for a long time as the ‘finished dough’, then gently punch down and form into the shape for baking.

Last rising is as a formed loaf – ready to go into the oven.  That means 4 main periods of waiting (ie, carry on with the rest of life):

  • While the yeast is coming to life, ‘proofing’ with the liquid
  • While the sponge is rising
  • While the finished dough is rising
  • While the shaped dough is rising before going into the oven

Bake and eat!

Almond milk/cream…

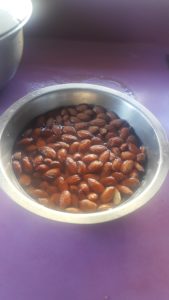
Almonds soaking

Spurred on by the fact that the amount of almonds in almond milk is near negligible, I figured to try making some of my own – but more pronounced as a cream rather than a milk, even.

I started with 500gm of almonds.  Soaked them with water to cover.  Kept the bowl in the fridge after the first few hours.  I changed the water daily for two days then made the milk on the third day.

Adding as little extra water as I could get away with, I used a mixing

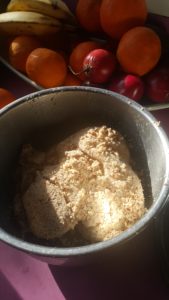
Meal after the first pressing

wand – what are they called? – to grind the almonds finely in the water mix.  Then, pour into a fine mesh draining cloth and press as much out as I could.  I count that as ‘first press’ – with no more added water than necessary to extract.

I got just under 500ml of this almond ‘first press’ cream.

I then added more water into the now quite dry almond meal, and did it all again – to get the ‘second press’.  Obviously not so pure and creamy, but another 600ml or so by volume.

I figure the meal, even after being ‘washed’ in this way, might still be good as the basis for either a loaf of bread or some such baking.

Meal after the second pressing

And not really sure how to use the milk yet, either – got to see what it all tastes like later when we have a ‘tasting’ session!

Two containers of the finished milk/cream

Last few weeks of baking and labneh making…

This is not a ‘real time’ posting.  I had taken a few photos of baking I’ve been doing, but not very consistently.

I’ve made several pretty good loaves of basic sourdough.  Still pretty solid, but getting the crumb better as I practice.  Biggest thing seems to be in the timing – just can’t go off to the pub when it needs forming or whatever!

Averil has been making a pancake using the sourdough.  Egg, flour, salt and the starter.  When the starter is really active, the  bubbles really work through this wet dough. 

But I have made another few sheets of dried sourdough starter.  This one I did in bands of ground pepper, paprika, tumeric and dill tips – mostly just interested in the colours.  When it was dry, I crumbled them all together very coarsely so the colour is still dominant.

But I’m determined to move into other than sourdough.  I made some bread roll type things based on a recipe for bastounakia, a Greek bun.  I never stick to the recipes, but mostly used the technique described.  It involved something similar to making a croissant, but instead of butter, it was brushing olive oil on as you fold, roll and turn about 3 times.  The recipe used coarse salt and bits of rosemary to sprinkle on the olive oil as the layering is done.  I used tumeric and cheese.

And finally – labneh!  But not as it is generally known.  I’ve started making yogurt using soy milk (adding the starter from some coconut yogurt, probiotic and all that).  The yogurt is beautiful and creamy.  But even better when it has hung in a cloth for a few hours – think sweet cream cheese.

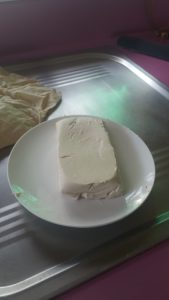
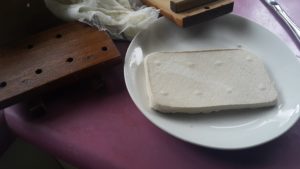
And finally yesterday went a step further – not only hanging but putting it into a small press originally intended for tofu making.  I made the press back in December 1976 – haven’t used it much over the years.

I used three containers of yogurt, quite a lot.  But then I probably over-pressed it – I had as much as 7kg of weight bearing down on it.  It is great, but quite a thin layer.  Next time may not press so hard, or may start with even more yogurt.