Some years back I planted a white grape, the type with seeds but very, very sweet, on our back fence. I trained it moderately well, and it is now massively productive.
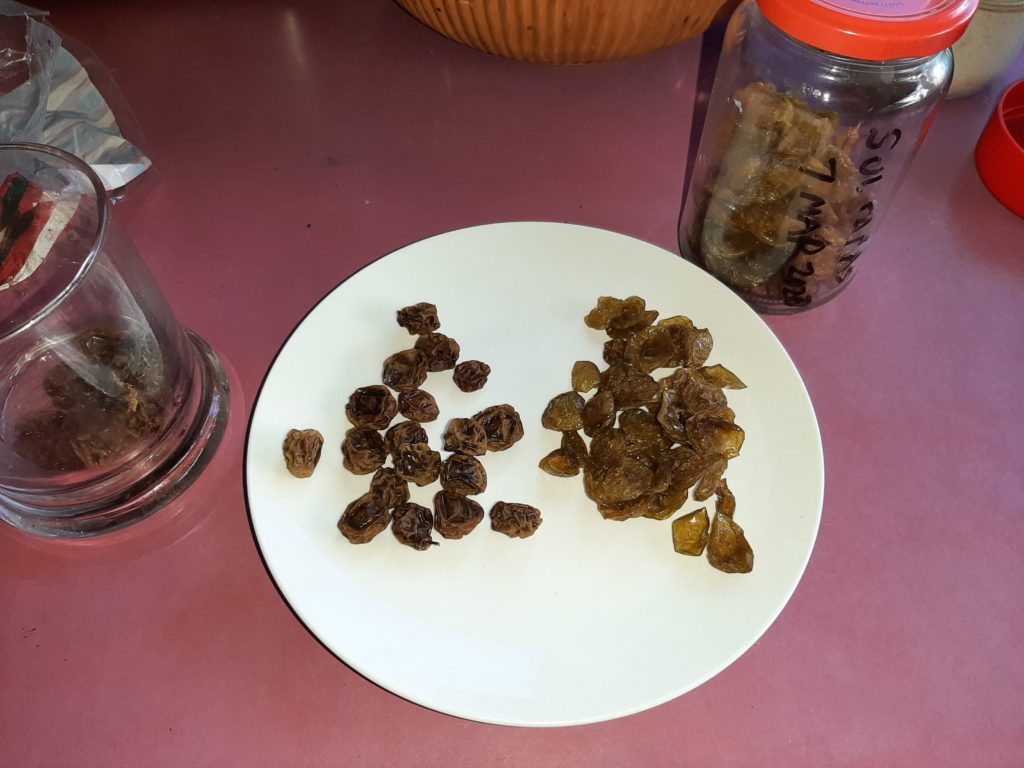
Whole grape sultanas on the left, halved and deseeded on the right
I don’t know how/don’t want to know how to make/drink wine, really.
So most of the crop goes to some really high class vinegar – I recommend it.
But this year I put some of the grapes into our dehydrator. I had to keep a pretty close eye on them as they dry up and harden quickly.
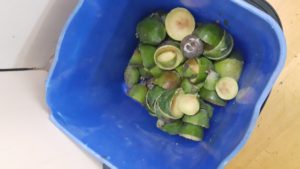
Going for the path of least effort, I did one tray of them whole. Seeds and all. And I guess the result matched the amount of effort, really. Edible, but not easy to eat…
The other tray sounds more laborious than it really was. I cut the grapes in half lengthwise, then picked out the seeds. A small cocktail fork made it a quick operation.
And those are by far the ones I like – that’s what I’ll be doing next March. Sitting and cutting and picking seeds out of grapes…
It would be about five years ago I got a persimmon tree from a local garden centre. While it claimed “delicious sweet fruit” it didn’t specify that it was of the Fuyu variety. Here in New Zealand, Fuyu is predominantly grown. That’s the persimmons that are eaten when they are still hard, crisp like an apple.
The other variety, the “older” persimmon variety, is generally called hachiya, and mine is close related to that variety, though somewhat larger and shaped more like a Fuyu.
But believe me, this is one of the astringent varieties. If they are not absolutely ripe, overly mushy in fact, they have enough tannin or whatever to turn your mouth inside out. Seriously unpleasant. Many people just refuse to eat them because of the fear of astringency!
Frozen blocks of persimmon pulp.
But if you’re patient, and wait until they are soft and squashy – they are a delight to eat. Sweetness and flavour – a delightful fruit.
This year, the second year of reasonable production, wasn’t quite as large as last year’s, but I did plan to cope with the birds better. Last year it seemed all the local birds will swoop on the tree and peck out all the fruit – and always before they were really ripe! The astringency did not bother them at all!
So this year I used clothes pegs to clip small pieces of nylon window mesh material around each fruit or cluster of fruit. And it worked fine. Hard to judge the colouring when looking at them through the spring and summer, with most decisions made by squeezing them.
I ate some of them fresh, of course, but I’ve frozen most of what I harvested. Not sure what I’ll make from it. Last year I made some of the best vinegar I’ve ever made from this persimmon pulp/juice, but that seems to be undervaluing it, really.
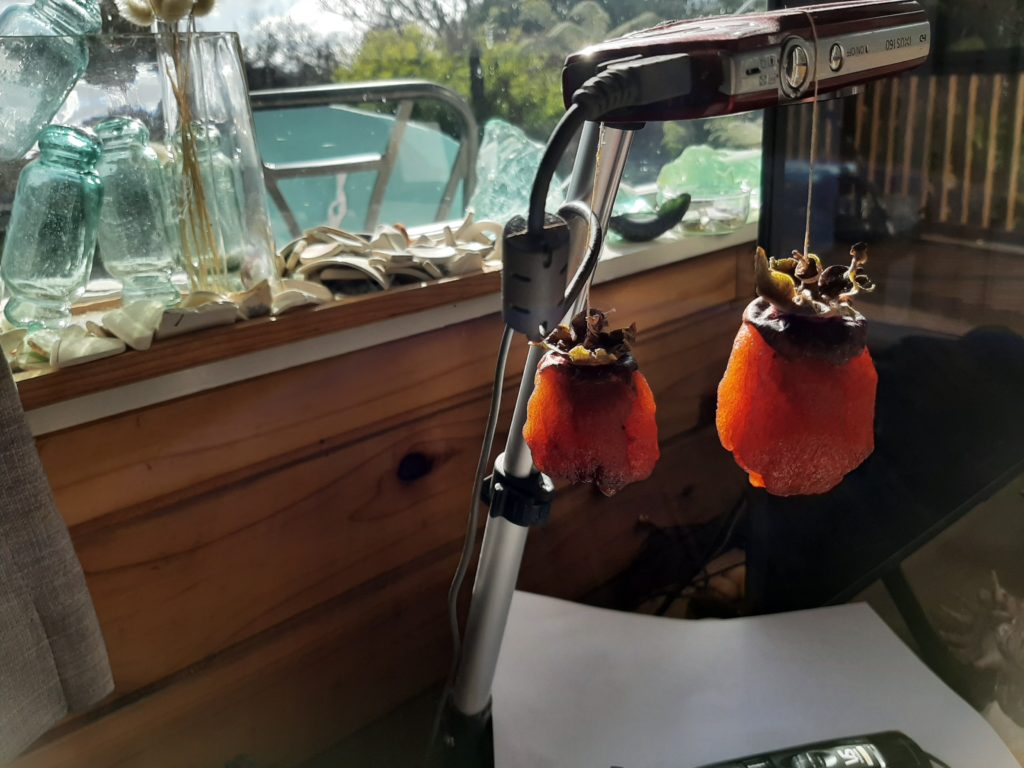
So just before I went to pick the last two fruit on the tree, I heard about hoshigaki, a method developed to store these astringent persimmons. It is, really, just dried astringent persimmons, but with a certain process.
The stem and woody calyx at the top is left intact, and the persimmon is basically just peeled. They should be still quite firm, more firm than you’d ever risk trying to eat raw… But the ones I had were quite mushy, so peeling was challenging. I did surprisingly well, as it turns out.
The fruit are then suspended on strings – I tied one end of a piece of string to the two I had. Traditionally, they are hung, often even outside under the eaves of the house, to dry through the autumn and winter. Me, I just hung mine up in front of my desk. This photo, however, shows them over near a window so you can see the colour better.
Hoshigaki – persimmons drying.
And they are drying. At first it seemed like they might just start dripping liquid, but they have maintained their shape and texture, with only 1 or 2 drops of sweet, sweet juice. Just now, about 10 days into the drying, they are still quite squashy, but the outside has dried to a sort of leather.
But here’s the fun part! As they dry, each day or two, they are supposed to be massaged gently! Rolled between thumb and fingers. Why? Apparently that helps to break up the ‘lumps’ of the inside, and encourages the sugars to migrate to the surface of the fruit! They should have a sort of ‘dusting’ of sugar in a few more weeks’ time, and then they’ll be ready to eat.
Most of what I have read compares them somewhat to a moist dried fig/apricot sort of thing. I wish I had more than just two to play with just now!
Well, more than a year has gone by since I’ve written of anything food or kitish… But so it goes…
We have two olive trees that were put in the ground when somebody only wanted the planters. So they’ve been there, growing, for 6 or 8 years I guess.
In past autumns, there might be a few olives on the ground, but not enough to do anything with. But this year has been different…
The “collecting and needing to deal with” came suddenly, and some of the earlier olives may have still been pretty immature. The worst problem is birds. Almost all of the olives would have a peck taken out of them, so collection was pretty slow.
But we ended up with about 3 or 4 litres of olives. OK, now to the processing: do not eat an olive that has fallen from the tree. Or do – see if I care. An uncured olive is one of the most bitter, unpleasant flavours that there is.
So since I was researching in a hurry, most of these olives were cured in a saline solution (1:10 salt:water). And changed the solution every few days or a week.
So that’s the ones in the pantry just now, mostly. They are pretty good, but still sometimes a bit more bitter than even I prefer.
Washed and ready to process.
So last week Averil spotted another olive tree on the side of the road nearby. We rode over this morning to collect nearly 1.8 kg (nearly 4 pounds) of plump, black olives – with hardly any insect or bird damage.
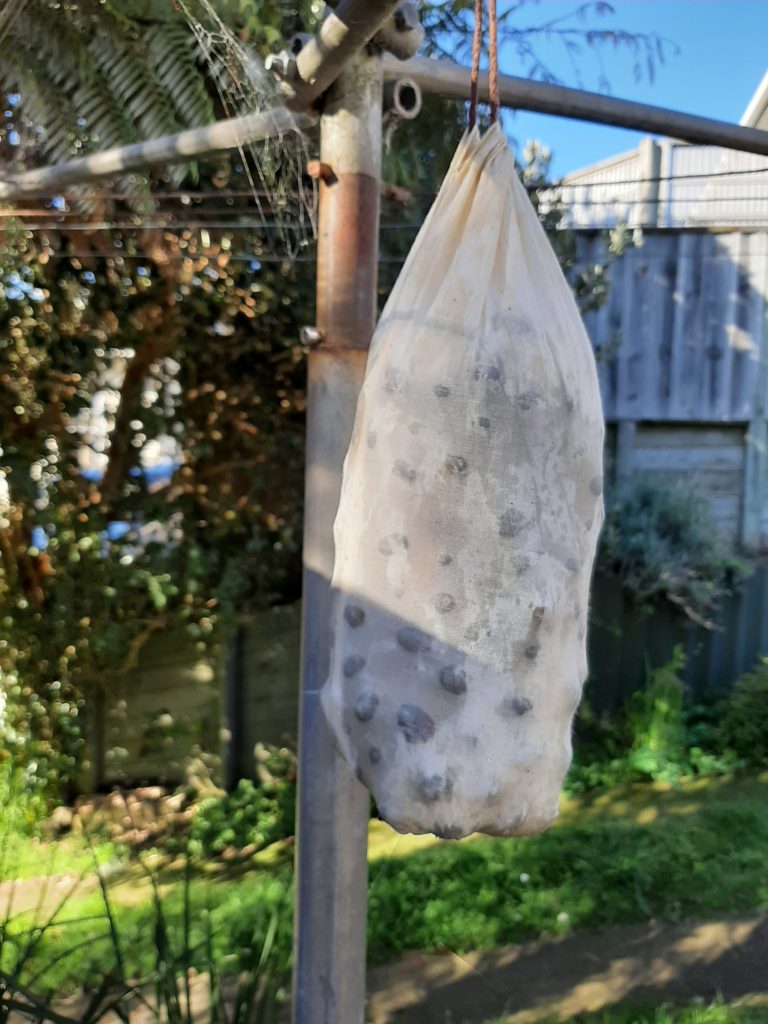
I took a few photos as I dealt to them. I took the first half to do what is called “oil cured” olives. As misleading as it can be! You don’t cure them in oil. In fact, you just hang them in a muslin bag, along with about the same weight of salt. That’s it.
Olives and salt in a muslin bag.
The first lot I did took about 4 or 5 weeks of just hanging outside on the clothes line. Yes, just hanging out there in the rain. And when there wasn’t much rain, I watered them. By the time I brought them in, there was still salt on the surface, but they had wrinkled and turned black. A quick rinse to get rid of the surplus salt, and we’ve got some pretty damn good olives – had them on a pizza just the other night!
So I’ve done half of today’s olives that way. After hanging out there, and rinsing, the “oil cured” comes into it when you put a small bit of olive oil in the jar and shake them around…
Slicing olives.
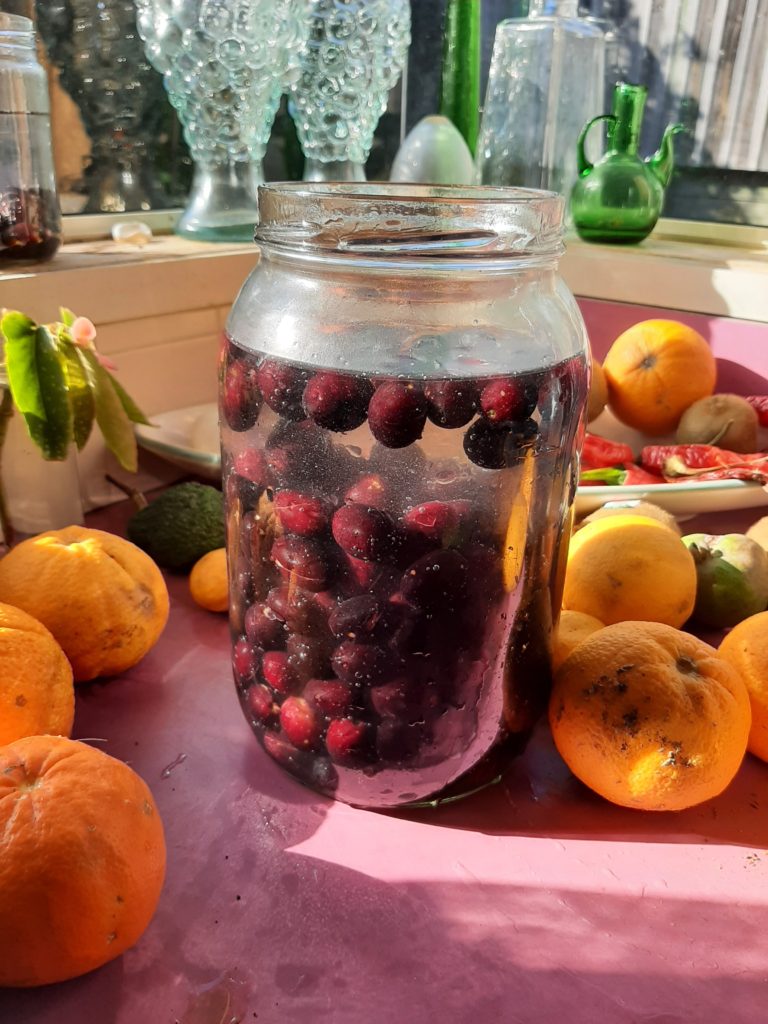
For the other half of what we got today, I’m using what I think is a more ‘traditional’ Greek approach. Rather than putting the olives into a brine to cure, this method has you put them into fresh water, and then keep changing the water every day or three.
But this method has some extra labour. While the brine has no problem going into the olives as they cure, plain water won’t go in so readily. So each olive has to have a small slice in it, with one source saying “don’t cut on the pip – it makes it even more bitter…”. It wasn’t as bad as it sounds, sitting on the deck in the sunshine.
‘Cut’ olives in water.
It should take some weeks of regular water changing before the bitter is gone. And only then would they perhaps have some storage time with a 10% salt solution, to give them a bit more flavour and help with storage.
As the olives cure over time, you can almost see the bitterness being washed out, whether it is with brine or with plain water. After a time, the water you are changing is sort of a purple colour.
When I first ate some of our own cured olives, I had to try to pretend to myself that they were really commercially prepared ones. I simply couldn’t believe that I would be able to turn that absolutely wretched flavour of raw olive into something that could be pleasantly eaten and enjoyed…
Feijoas collecting behind the timber, having rolled down the driveway on the carpet.
When the feijoas are ripe, there are more than can be given away most years. Though we have trees around several sides of our property, they don’t fruit consistently – they were not ‘selected’ for anything much other than shelter.
Almost all the feijoas we’ve had this season have come from one tree. Maybe not the best fruit – but easy to collect. I put a piece of carpet on the drive, and they roll down into a clump to collect.
Feijoas meet the citrus juicer.
But with this quantity of feijoas, even cutting them in half and scooping out with a spoon can be tiresome. So this year, I’ve tried using the citrus juicer. It works a charm.
In the top is the coarser pulp, and what does fall through the slots is an even finer consistency.
I’ll use the skins for making vinegar.
I’m going to try making a sort of fruit leather from it. I spread it evenly in a shallow bakng dish, then drizzled it with some persimmon pulp, just for the colour and taste treat.
I’m baking it very, very slowly in the oven, hoping to have it dry within a few hours.
It isn’t quite as thick as it looks here – I’ve spread it as thin as I could with a spatula.
I kept the temperature down around 40 to 50 deg C, and kept the fan on. After some hours, I moved the baking dish to the area above our hot water cylinder – only in the high 20s there, but overnight it has dried out quite a bit.