 Though I’ve not referred to it here much, there is a kite day this coming Sunday at Fergusson Park for Matariki. I’m not usually much for kite days, as I’m not overly social (!) at the best of times.
There is a predominance of massive (nothing wrong with that…) ‘kites’ that hang from a pilot kite, rather than fly on their own and finally – made by other people. I think I’m good evidence that you don’t need to know how to sew to make kites – just don’t look too close at the stitching!
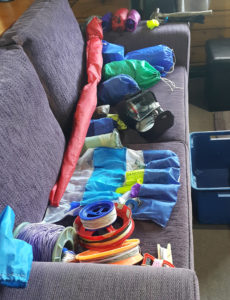
But this will be the first I’ve been to when I’m only bringing soft kites. No sticks (apart from several that are part of the kite messenger).
3 parafoils
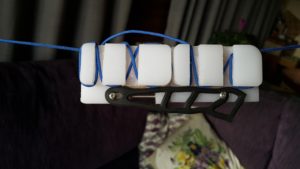
4 panflutes
6 parasleds
9 reels of line
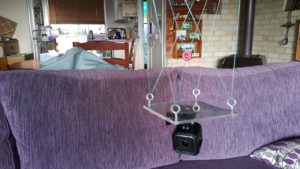
1 picavet rig with camera
1 static dropper rig
3 misc droppers
1 ferry with dropper bag
hammer and stakes
1 set of night lights
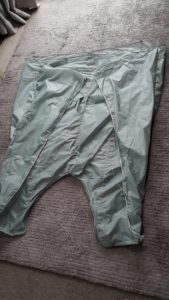
I’m not counting the silver flowform yet – it hasn’t flown properly. And the one bit of wind that it could/should have used makes me think the aerofoil shape is not right – and I am in the process of putting some ‘darts’ into the foils near the leading edge, trying to give it more lift than it currently has.


 are other people using more sophisticated systems that can do better. I’m just happy with any photos – or even poor quality movies! – that I can take from my kites.
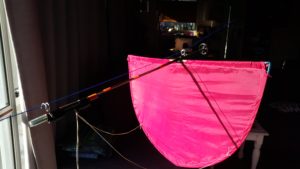


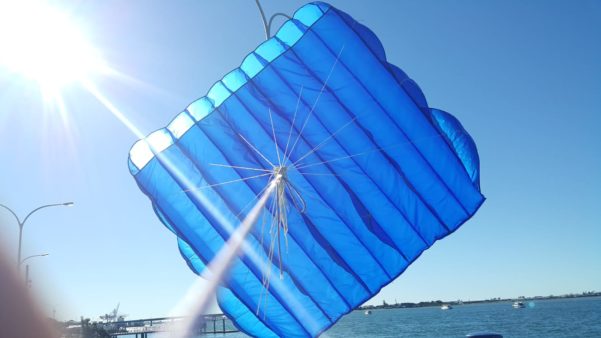 But flying. No doubt at all that it will be a heavy puller – when I didn’t have it tied to a bench, it could feel sort of scary even at low altitudes, pulling enough to be more than I’d want to handle i
 n a bigger wind…